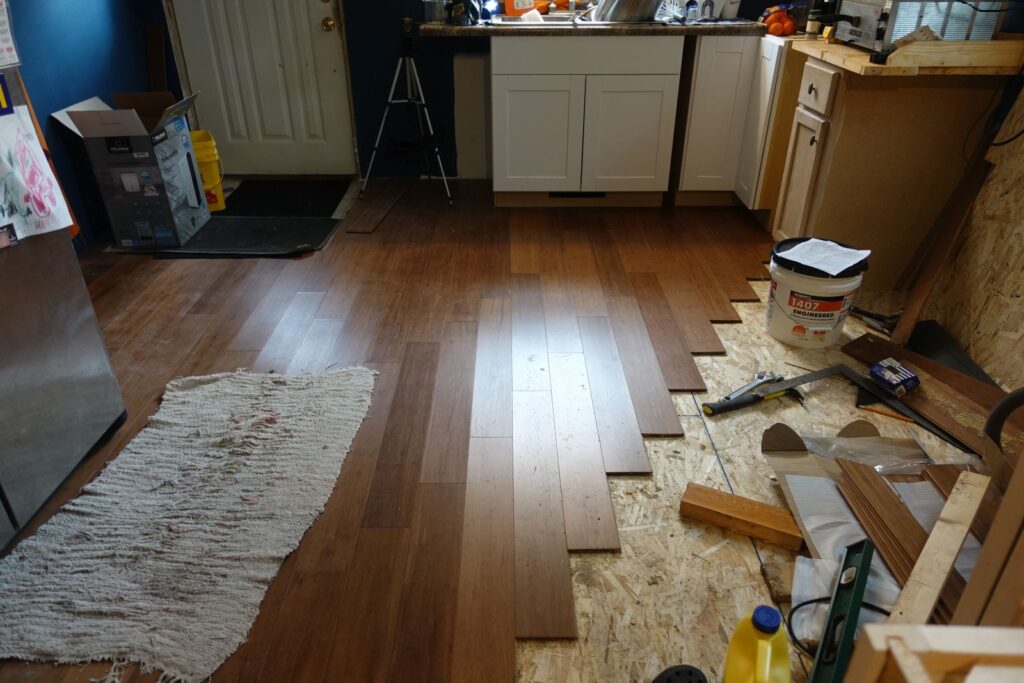
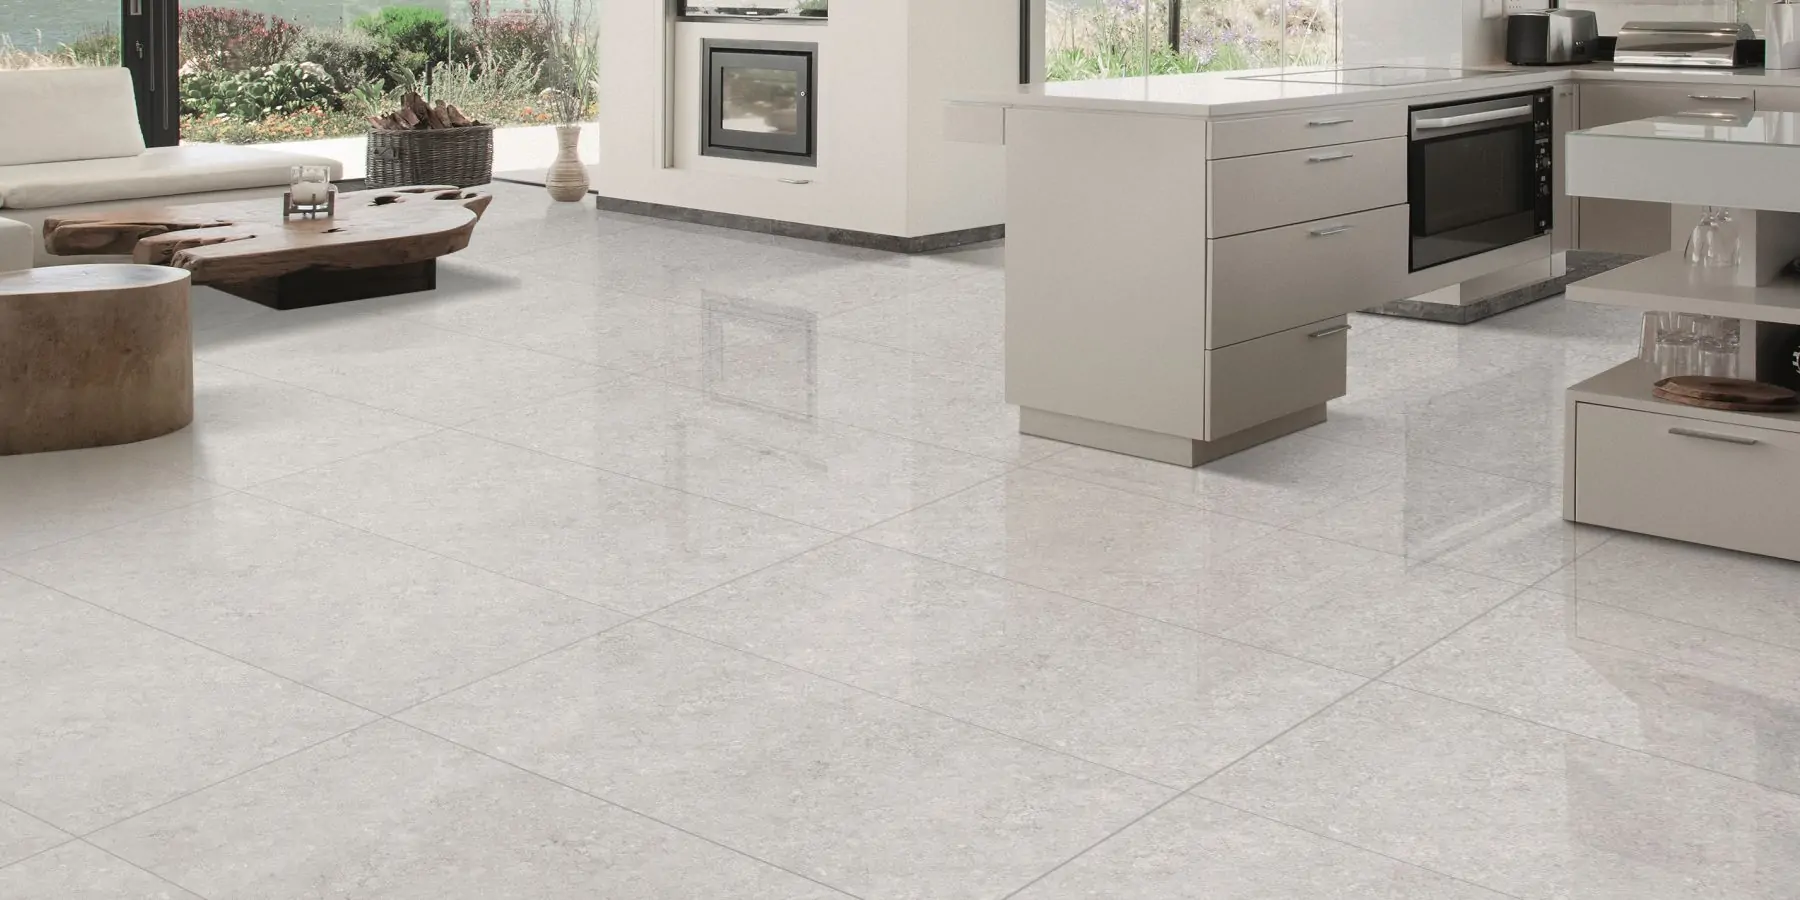
Homeowners frequently opt for tile flooring since it is long-lasting, versatile, and has an entirely ageless appearance. On the other hand, installing tile flooring calls for meticulous planning and execution. Using this detailed guide, you can install tile floors by following the step-by-step instructions, ensuring successful and long-lasting results.
Pre-Installation Preparation
Thorough pre-installation preparation is essential before you use beautiful tiles to change your room. It guarantees a flawless installation process and an end product lasting many years.
Surface Inspection
The surface should be clear of dust, grime, grease, oils, and any other impurities. Use a broom, vacuum, and the proper cleaning solution depending on the surface. Remember, a clean canvas is required for best adherence. While ultimate perfection is not essential, the surface should be reasonably level. To check for irregularities, use a spirit or laser level. Minor dips and bumps can be repaired with patching chemicals, but severe unevenness may demand extra treatment.
Examine for cracks thoroughly. Hairline cracks may not be an issue, but more considerable structural flaws warrant attention. Consult a professional for help repairing or resolving major cracks to ensure the installation’s stability. Use a moisture meter to assess moisture content on porous surfaces like wood. Ensure it falls within permissible limitations for your tile floor type to avoid future problems like warping or cracking.
Gather Tools and Materials
All the necessary tools and materials help simplify the installation process and avoid delays. Create a detailed, organized list for quick reference:
- Tiling Tools: Trowels (notched and flat), tile floor cutter (wet saw for specific tiles), spacers, grout float, knee pads, etc.
- Adhesives and Grout: Mortar, grout, thin set, sealant, mixing bucket, tools, etc.
- Safety Gear: Gloves, respirator, eye protection, dust mask, etc.
- Cleaning Supplies: Sponges, buckets, rags, cleaners suitable for your materials, etc

Setting the Foundation
After inspecting and preparing the surface, it’s time to set the ideal foundation for your tile floor creation. This essential stage, substrate preparation, applies an underlayment or backer board. Consider it the foundation that gives stability and guarantees your tiles remain in place for many years.
Substrate Preparation
Consider the substrate to be the canvas for your tile work. Proper preparation is essential for a durable surface. Determine your substrate type and investigate the recommended underlayment options. Use patching compounds or self-leveling materials to produce a flat foundation, which is critical for preventing difficulties like uneven grout lines.
Moisture control is critical, especially with porous substrates. Use a moisture meter to check levels are within acceptable limits, avoiding potential issues such as warping or mold growth. The final stage is to apply the underlayment and carefully follow the manufacturer’s directions, whether they entail thin-set, backer boards, or particular adhesives. This careful substrate preparation lays the groundwork for an aesthetically pleasing, long-lasting tile floor installation.
Layout Planning
Before you begin laying tiles, please take a moment to consider how you want them to look. It ensures that your finished product appears good and prevents any last-minute adjustments. To create a clean plan:
- Start with the middle of the room.
- Consider doors, windows, and other elements to ensure your tiles fit correctly and without uncomfortable cuts.
- If you have a specific area, such as a fireplace, use tiles to highlight it.
Consider the size and color of the lines connecting the tiles and plan accordingly. If you use a specific pattern, draw it first to see how it looks. This planning process makes placing tiles easier and produces a better-looking final.
Installing the Tile Floor
Once the foundation is constructed, it’s time to bring your tile concept to life! This stage entails applying mortar, carefully positioning your tiles, and making any required cuts.
Mortar Application
Thin-set mortar functions that hold your tiles to the substrate. Choosing the correct mortar is critical to your project’s success, so consider elements such as tile type, substrate, and surrounding environment.
When it’s time to trowel, choose the proper size based on the size of your tiles and the required notch size for your mortar. Spread the mortar evenly over a small area to prevent it from drying too quickly, similar to icing a cake – smooth and uniform application is essential! Before spreading, push the flat side of the trowel over the mortar to form a thin layer that “keys in” to the substrate, resulting in a stronger bond and longer-lasting installation. Finally, comb it.
Tile Placement
Laying your tiles is the next fun step, so get ready! The planning and attention to detail that you have put in will come in handy here. To create a balanced and visually pleasing layout, you should start by laying tiles outward from the center of the room. It would help if you used spacers between each tile floor to avoid overcrowding and preserve consistent grout lines. Remember that maintaining uniform spacing is essential to achieving a professional finish.
For optimal contact, gently but firmly press each tile into the mortar, removing any air pockets that may be present using a slight rocking motion. Remove any excess mortar that may have squished out between the tiles as you move forward. It will help you avoid any problems associated with cleanup and ensure the completed product is cleaner.
Cutting Tiles
Corners and corners frequently require tile cuts, where your tile floor cutter or wet saw is handy. Carefully measure the space you need to fill and mark the tile accordingly, keeping in mind that removing material is more accessible than adding it back, so err on the side of caution. When using the tile cutter or wet saw, put safety first by wearing glasses, gloves, and a dust mask. Safety should always be a significant consideration. If you’re new to tile cutting, practice on scrap pieces first before moving on to your final project. It can help you become more comfortable with the tools and avoid costly blunders.
:max_bytes(150000):strip_icc()/best-subfloors-to-use-for-laying-tile-1822586-hero-efcfac9422ab457da5d2cbc7f7361df7.jpg)
Grouting and Finishing
After carefully positioning your tiles, the last challenge to overcome is grouting and sealing to complete the process. Your tile creation will be safeguarded and long-lasting if you follow these measures, providing the finishing touches to the project.
Grout Application
Filling the holes between tiles with grout is essential because it makes the surface smooth and even and keeps water out. When choosing grout for your job, consider the type of tile, the color you want, and how easy it is to use. Follow the manufacturer’s instructions for adding the grout to get the right consistency. It will ensure that the mix is smooth and easy to work with, making it easier to install and give it a professional look.
Press the grout firmly into the gaps between the tiles with a leather grout float. Work diagonally at a 45-degree angle to ensure the holes are filled and keep the grout from coming out of the joints. Before the grout dries, use a damp sponge to remove any extra material from the tile surface. Work in small areas and rinse the sponge often to avoid smearing. Once the grouting is done, use a clean, damp sponge to carefully wipe off any grout still on the tiles, being careful not to damage the grout in the joints.
Sealing
A sealer can add an extra layer of defense against stains, moisture, and damage, depending on the kind of grout and tiles you use. Being wise about sealing is crucial, but not all tiles and grouts must be sealed. Refer to the manufacturer’s instructions to determine if sealing is required for your particular materials.
Select a sealer for your grout and tile type if sealing is advised. While topical sealers form a surface barrier, penetrating sealers provide deep protection. Wear gloves, ensure enough ventilation, and carefully apply the sealer according to the manufacturer’s directions. Before using the tiled area, evenly spread the sealer and give it time to dry.

Post-Installation Care
After the installation, the tiles should be carefully cleaned to eliminate any grout residue that may still be present. Establish a schedule for routine maintenance to maintain the visual appeal of your tile floor and ensure that it lasts as long as possible.
Conclusion
Putting in a tile floor is a fun and valuable job that will make your home look better and work better. You can get a professional-looking result that will last by following these steps and paying close attention to the little things. When remodeling a bathroom or a kitchen, the most important things are to plan, follow through precisely, and be dedicated to doing a good job.
Transform your living spaces with the perfect blend of style and functionality. Explore our comprehensive guide on Home Decor, where we get into innovative ideas to elevate your surroundings.
Hey, we have a lot of information on Home Decorations. You can check it out by clicking http://wehomedeco.com/


